How to Install Laminate Flooring (Step-by-Step DIY Guide With Pictures)
Installing laminate flooring is one of the easiest and most affordable ways to upgrade your home. With the right tools and proper preparation, most homeowners can install laminate flooring in a single day—without nails or glue.
This step-by-step guide explains how to install laminate flooring correctly, including preparation, layout, cutting techniques, and finishing details.
Why Choose Laminate Flooring?
- Durable and scratch-resistant
- Affordable alternative to hardwood
- Click-lock installation (floating floor)
- Ideal for living rooms, bedrooms, and basements
Tools & Materials Needed for Laminate Flooring Installation
- Laminate flooring planks
- Underlayment (if not pre-attached)
- Tape measure
- Utility knife
- Spacers
- Tapping block
- Pull bar
- Rubber mallet
- Jigsaw or miter saw
- Chalk line
Step 1: Prepare the Subfloor for Laminate Flooring

A properly prepared subfloor is critical for a successful laminate flooring installation.
- Remove carpet, padding, and staples
- Clean debris and dust thoroughly
- Ensure the subfloor is dry and level
- Fix squeaks and low spots
SEO Tip: Laminate flooring can be installed over concrete, plywood, vinyl, or tile—but never over carpet.
Step 2: Acclimate the Laminate Flooring
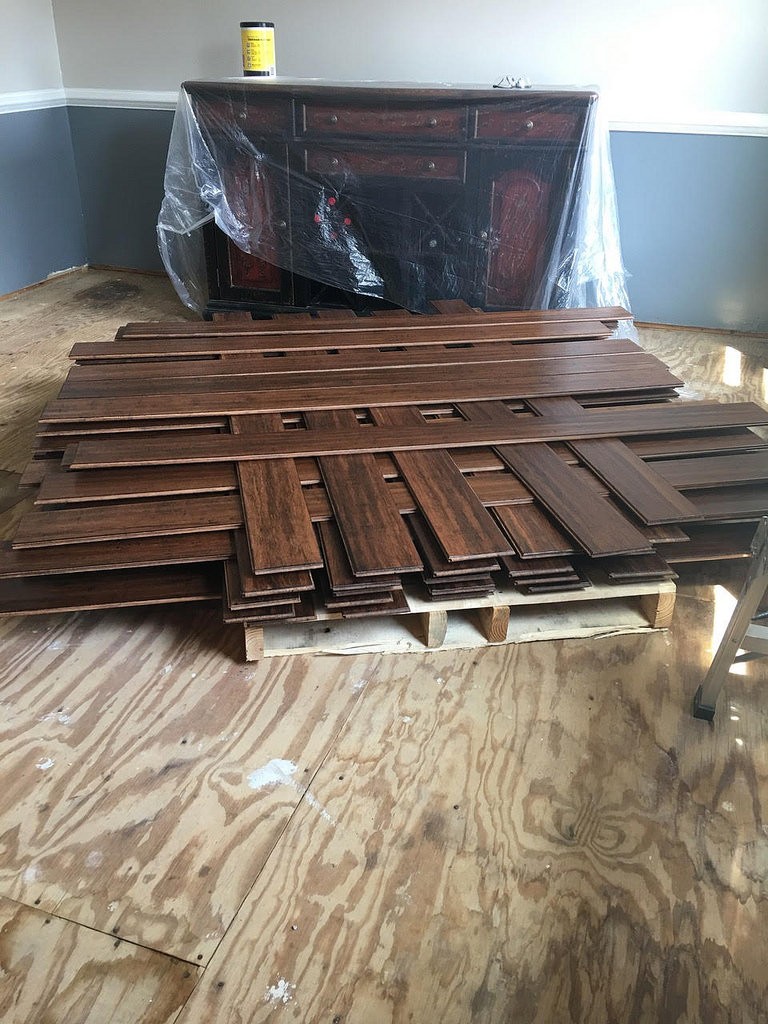
- Leave unopened laminate flooring boxes in the room for 48 hours
- This prevents buckling caused by temperature or humidity changes
Step 3: Install Laminate Flooring Underlayment


- Roll out underlayment perpendicular to plank direction
- Butt seams together—do not overlap
- Tape seams if required by manufacturer
Note: Skip this step if your laminate flooring has attached padding.
Step 4: Plan the Laminate Flooring Layout


- Run flooring parallel to the longest wall or natural light source
- Measure room width to avoid narrow last rows
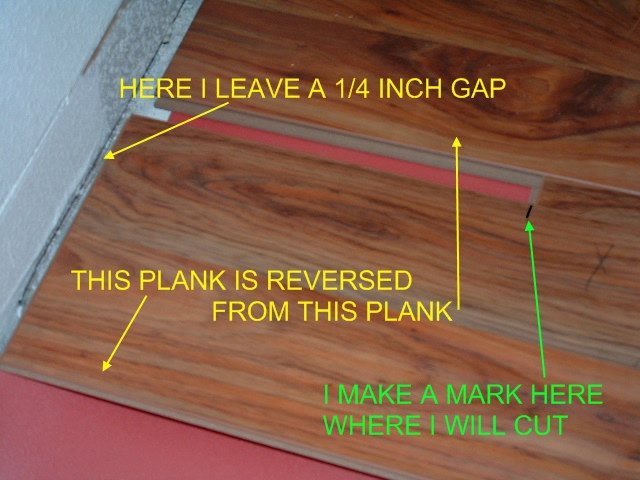
- Leave a ¼-inch expansion gap around all walls
Step 5: Install the First Row of Laminate Flooring
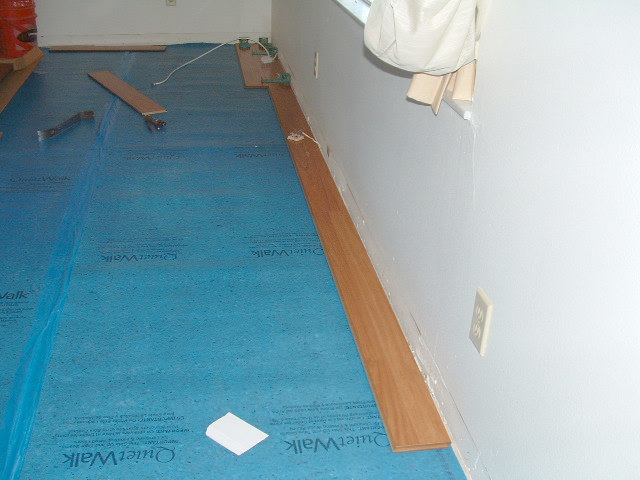
- Start in a corner with the tongue facing the wall
- Use spacers to maintain expansion gaps
- Lock planks together end-to-end
Pro Tip: A straight first row ensures the entire laminate floor stays aligned.
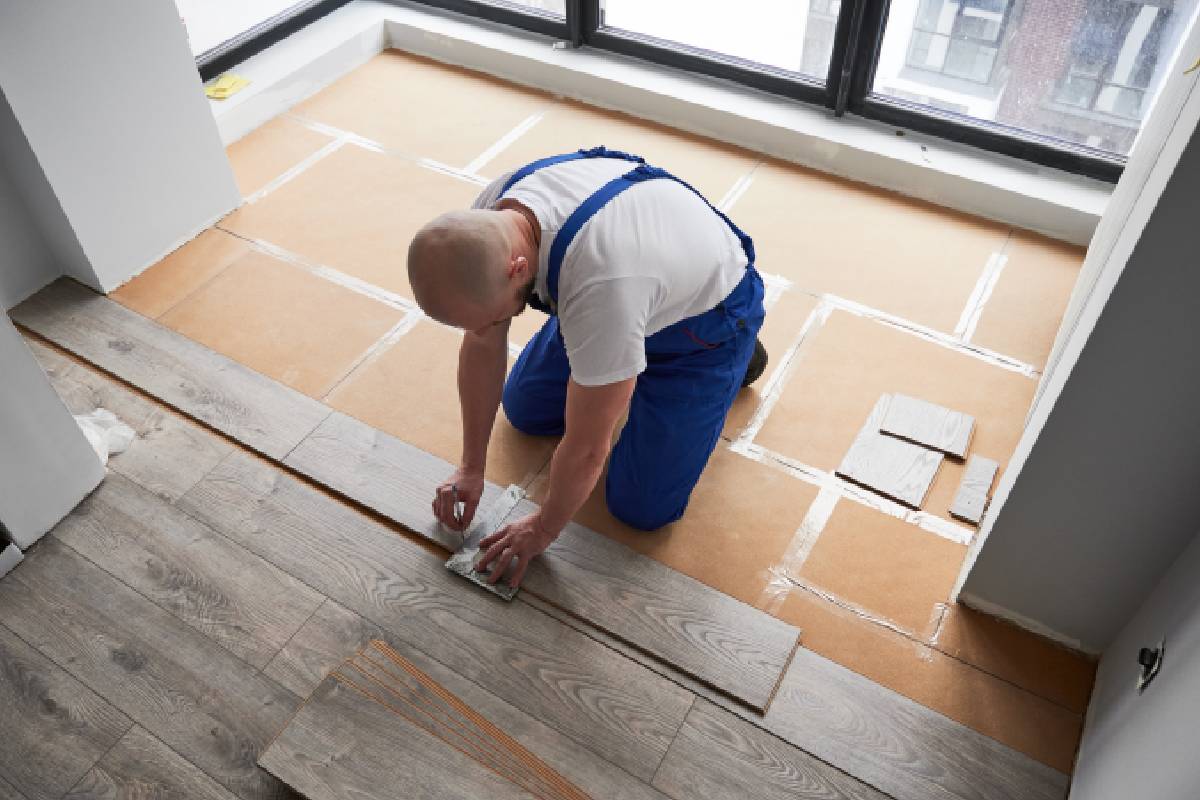
Step 6: Install Remaining Rows

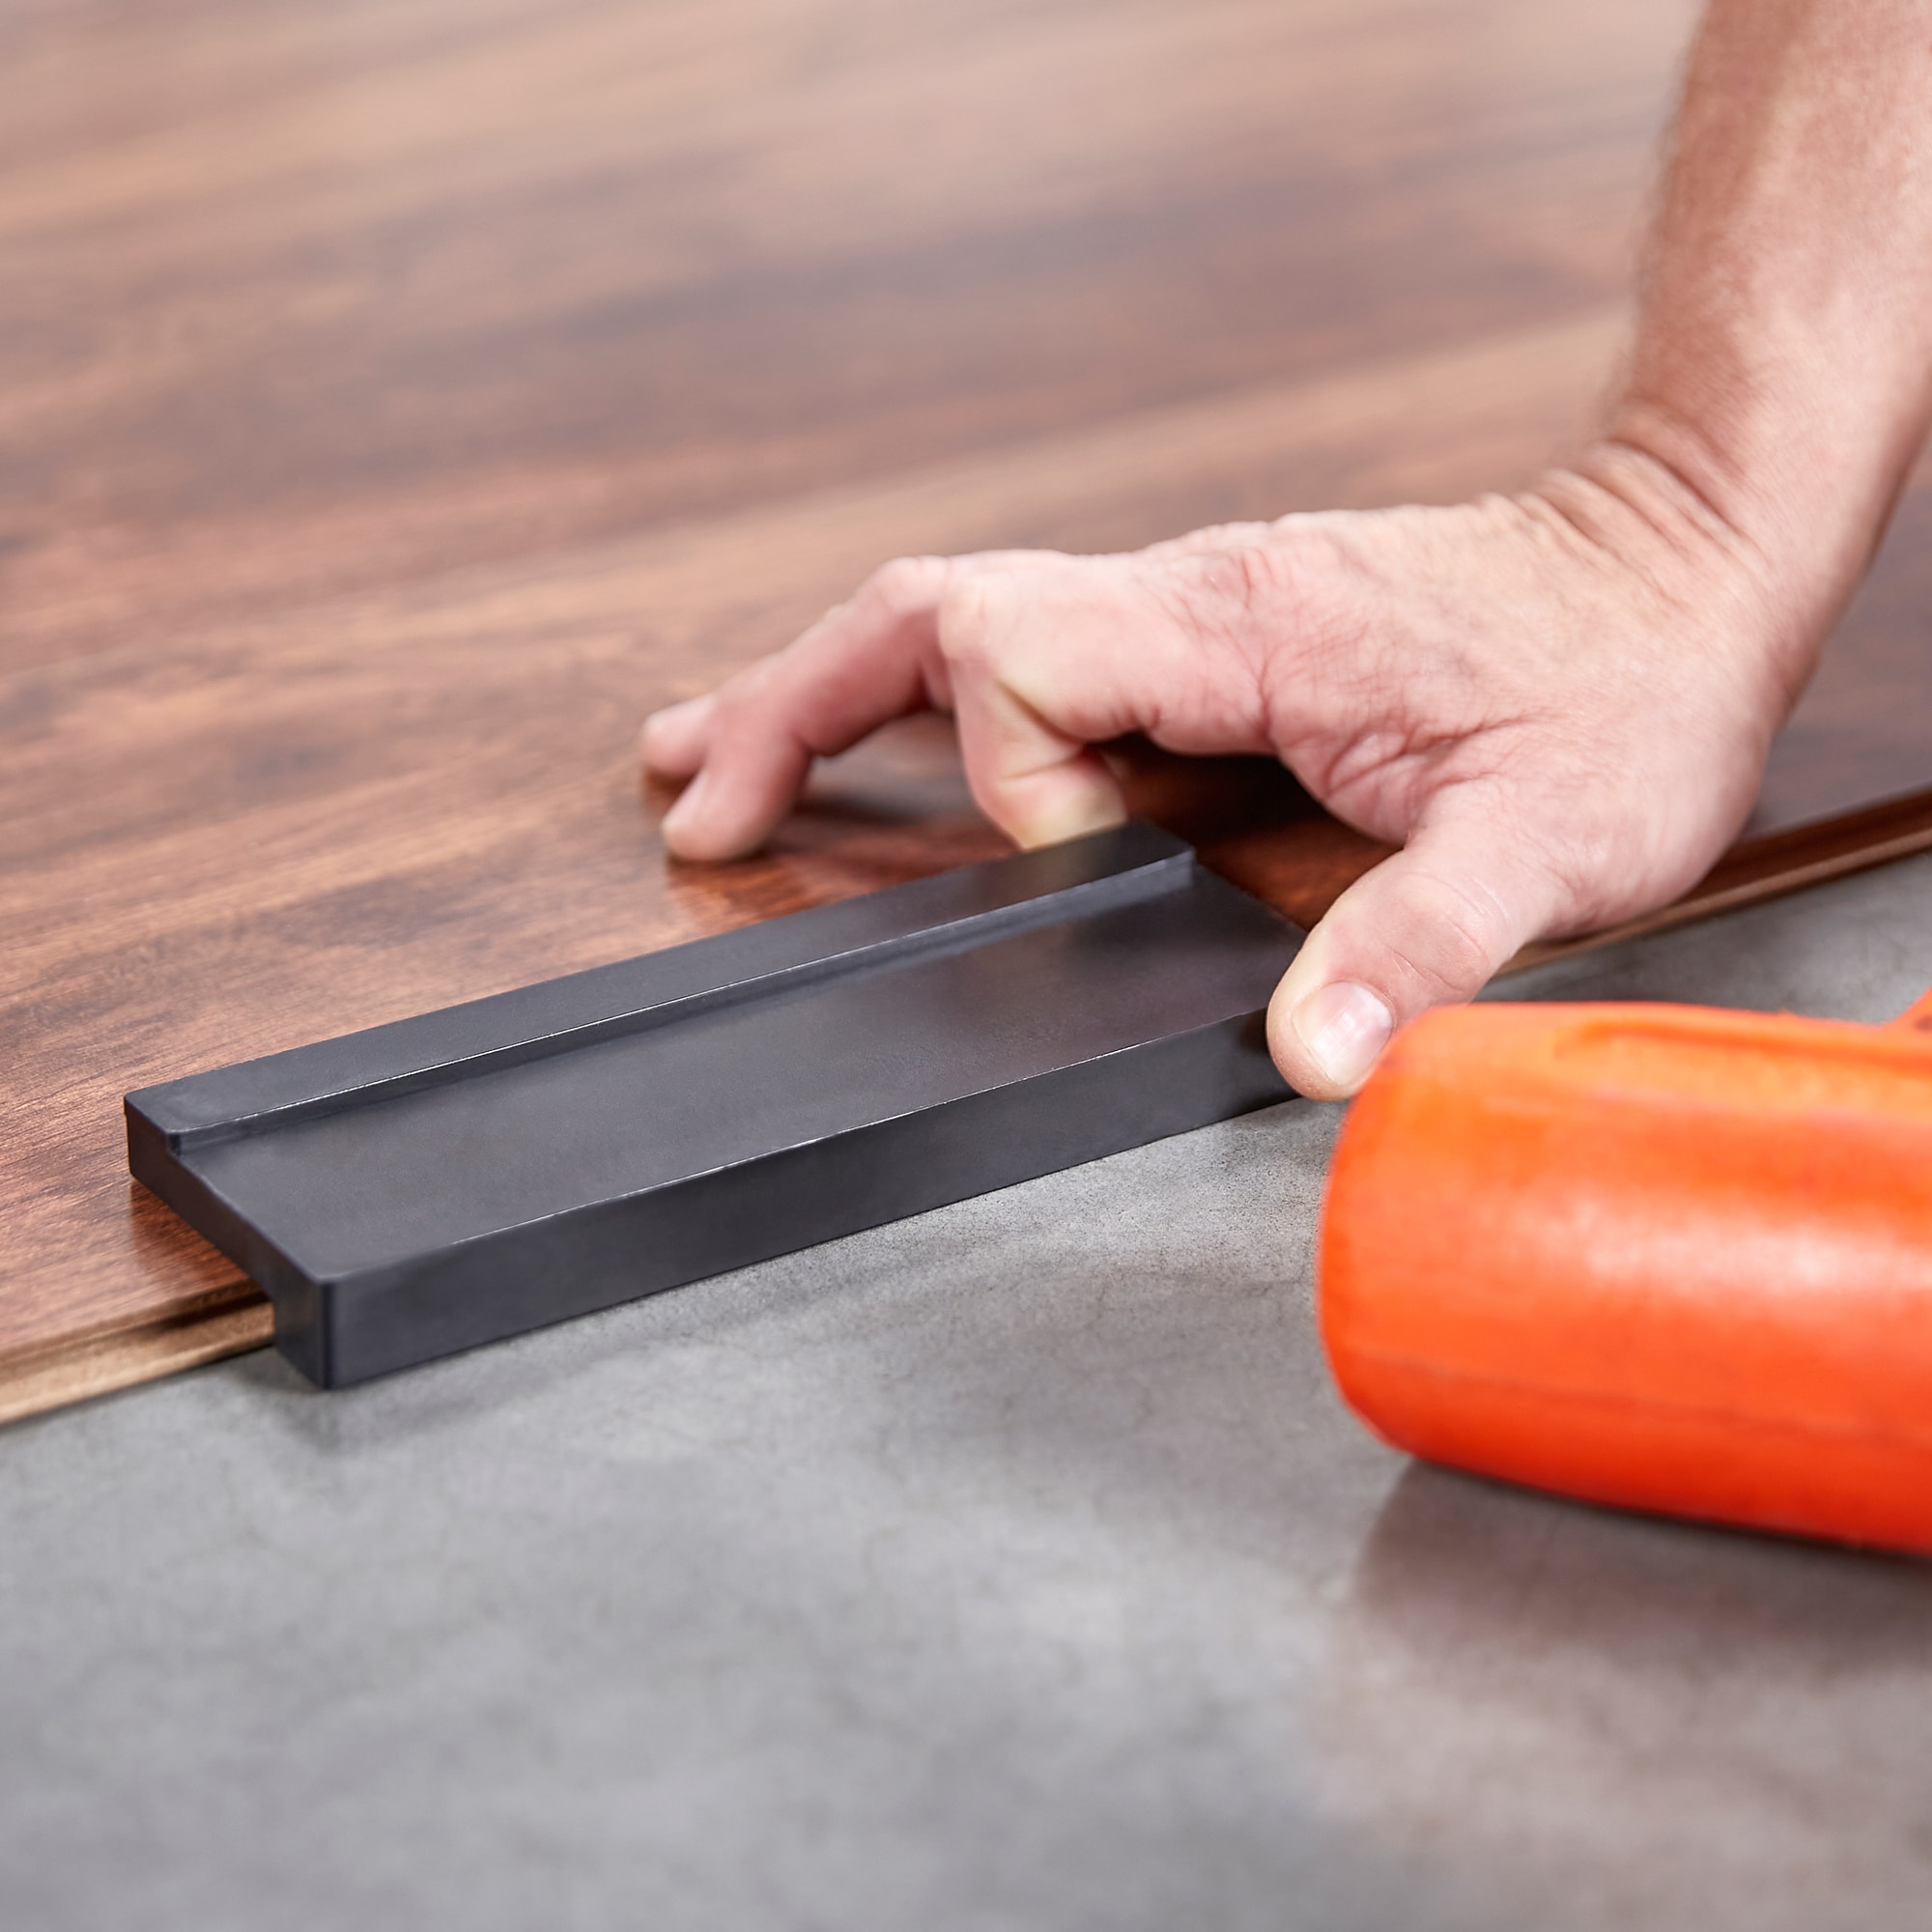
- Stagger seams at least 12 inches
- Angle planks into the previous row
- Use a tapping block and rubber mallet for tight joints
- Use a pull bar near walls and tight spaces
Step 7: Cut Laminate Flooring Around Doorways & Vents


- Measure twice before cutting
- Use a jigsaw for detailed cuts
- Undercut door trim so flooring slides underneath
Step 8: Install the Final Row of Laminate Flooring
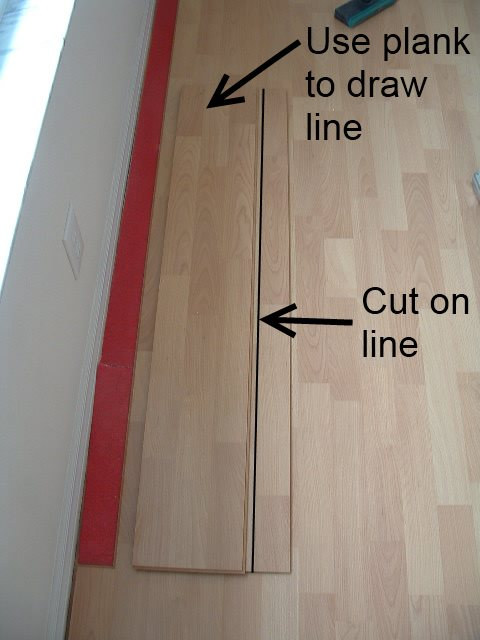
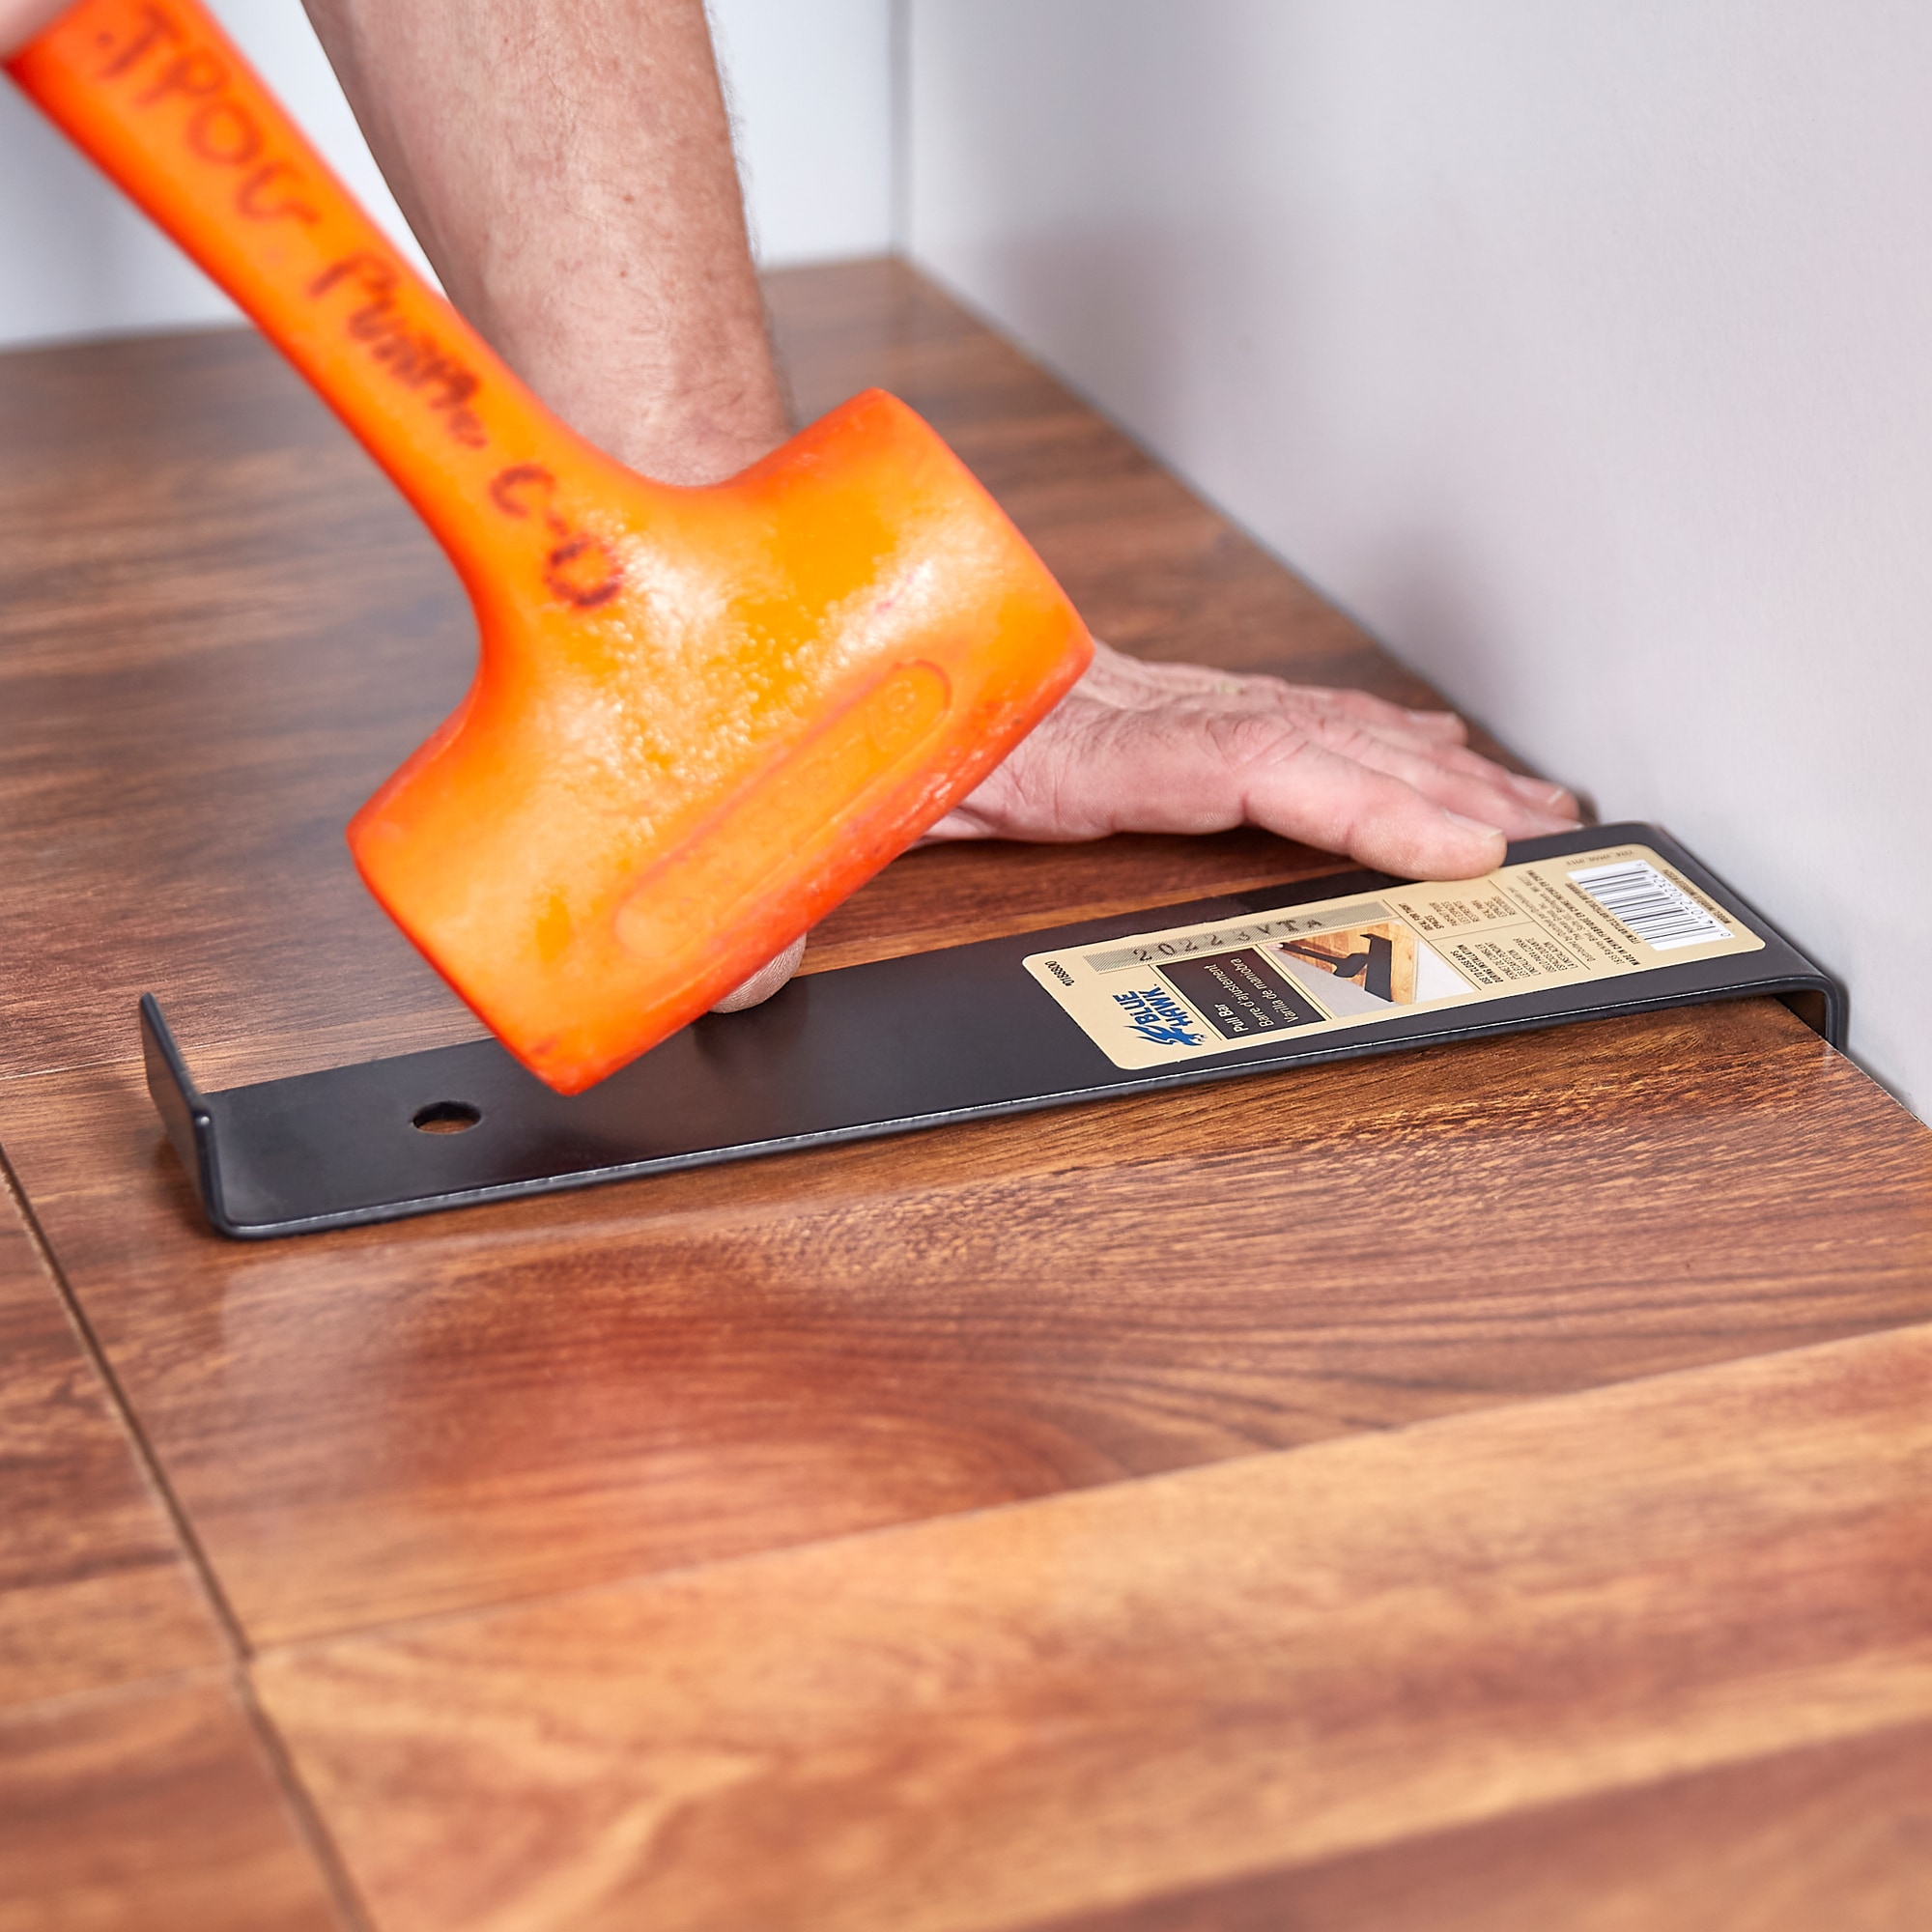
- Rip planks lengthwise if necessary
- Use a pull bar to lock boards in place
- Maintain expansion gap along the wall
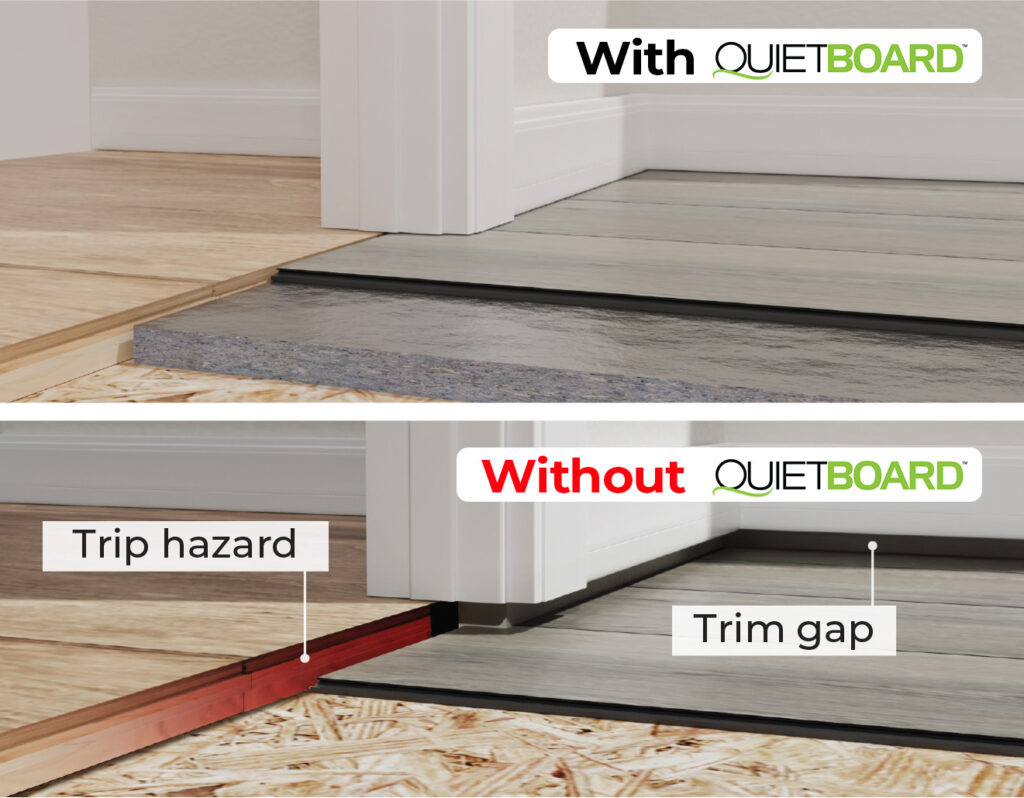
Step 9: Install Baseboards & Transition Strips


- Remove spacers
- Install baseboards or quarter round (attach to wall only)
- Install transition strips at doorways
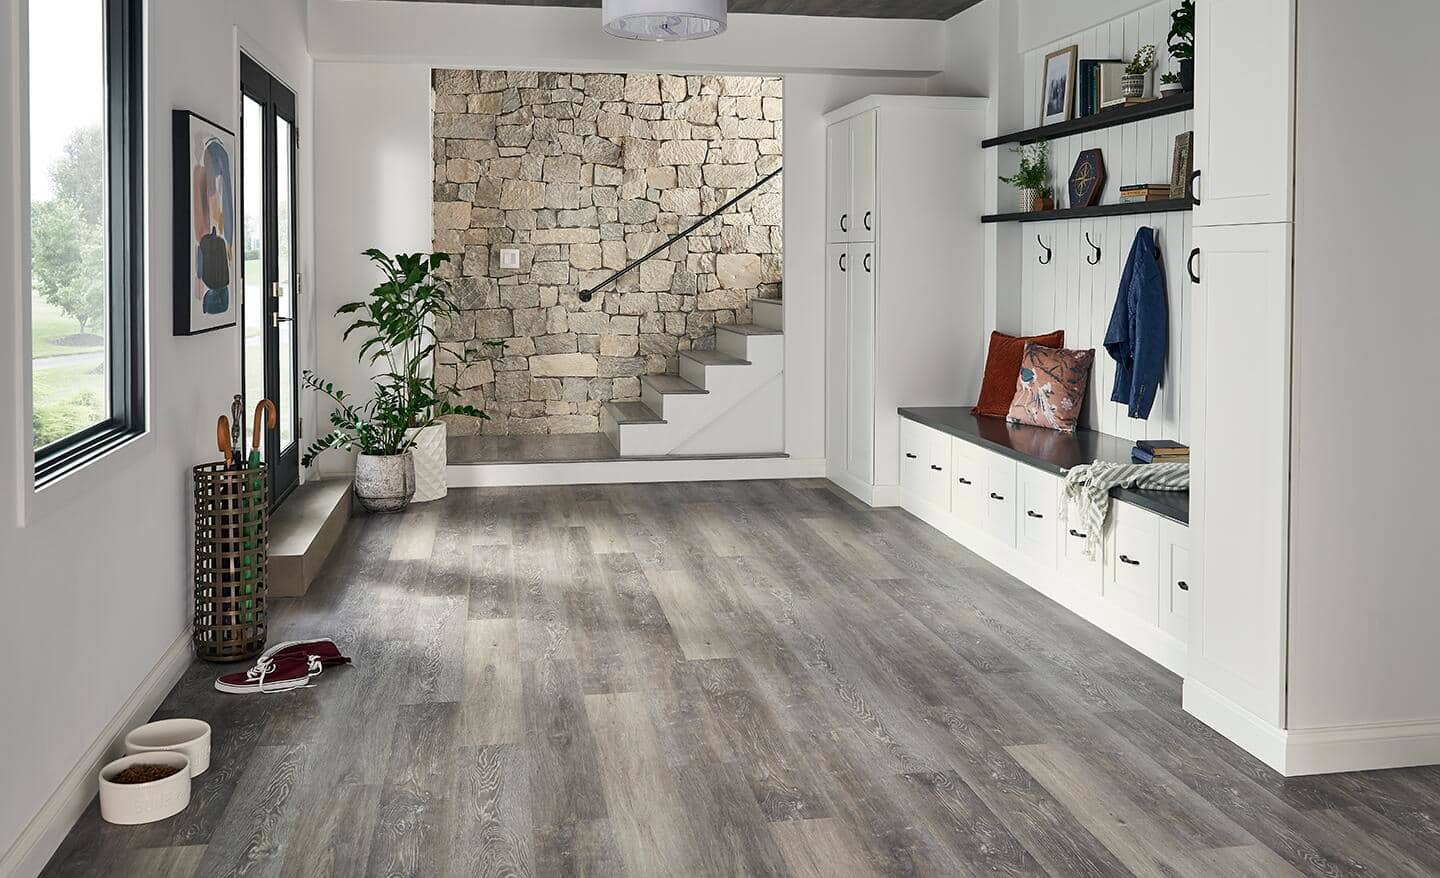
Step 10: Final Inspection & Cleanup
- Inspect seams and edges
- Vacuum or dry mop (no water for 24 hours)
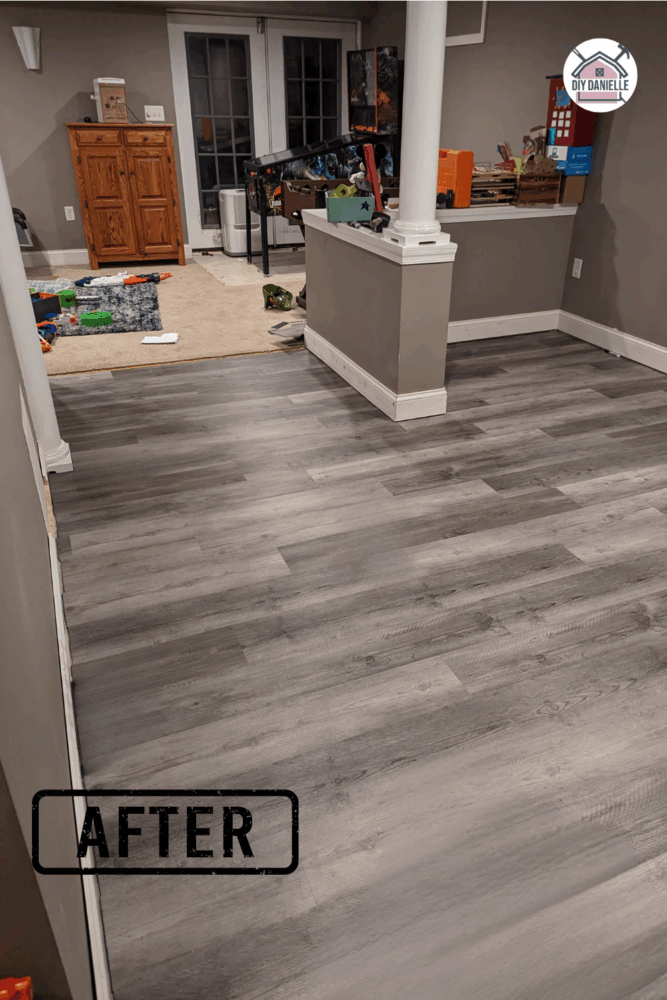
- Enjoy your new laminate floor
Common Laminate Flooring Installation Mistakes to Avoid
- Not leaving expansion gaps
- Installing over uneven subfloors
- Failing to stagger plank seams
- Nailing or gluing laminate flooring
How Long Does It Take to Install Laminate Flooring?
- Small room: 4–6 hours
- Average room: 1 day
- Whole house: 2–3 days
Leave a reply